简介
react 是由 facebook 团队内部开发并维护的前端框架,属于当前前端三大主流框架之一。
相比于我们常用的 vue 来说,vue 更适合开发一些中小型项目尤其是小项目(配置简单),学习成本更低,且在国内中小型企业中流行度非常高,而 react 则更偏向于做中大型项目,在国内大厂和国外流行度更高。
官方文档:Homepage
基本语法
先来简单了解下 react 中几个比较重要的概念和用法。
JSX语法
一句话解释 JSX,其实就是 JavaScript 的语法扩展,使得在 js 中也可以编写 html。
例如,在以前写原生的前端可能就是 .html 文件 + .js 文件,在 .vue 模板中,也是通过 template 和 script 标签来区分 js 和 html 代码的,但在 .jsx 文件中我们可以这样写:
1
2
3
4
5
6
7
8
| const element = <h1>Hello, world!</h1>;
const list = [1, 2, 3];
const items = (
<ul>
{list.map(item => <li key={item}>{item}</li>)}
</ul>
);
|
遇到 <></> 这样的标签符号,它就知道你写的是一个html,而遇到 {} 时,则又能知道你开始写 js 表达式 了。比如上面在 ul 标签中写的 {list.map…} 就是用 js 的 map 方法,遍历返回了 3 个 li 标签,最终渲染结果应该是:
1
2
3
4
5
| <ul>
<li key="1">1</li>
<li key="2">2</li>
<li key="3">3</li>
</ul>
|
函数式组件
react 中定义组件的方式非常简单,在 jsx 文件中像如下方式导出一个函数就可以了。
1
2
3
4
5
6
7
8
| export default function MyApp() {
return (
<div>
<h1>Welcome to my app</h1>
<MyButton />
</div>
);
}
|
要注意该函数要满足以下几个特点:
- 函数名必须大写(组件名一般都是大写,跟 html 原生标签做区分)
- 只能有一个根标签,如上面例子中的跟标签为 div 。
因为 jsx 就是 js 的增强,本质上跟 js 差不多,所以编写函数式组件就跟写 js 一样很舒服,你可以在任何位置编写 js 逻辑,最终导出一个返回 dom 元素的方法即可。
绑定类名
react 中绑定类名要使用 className 而不能用 class,因为在 react 里 class 用作保留字了,这个可以不用深究,记住绑定类名时用 className 就可以了。
1
| <img className="avatar" />
|
条件渲染
react 中没有 v-if 这种语法,假如我们需要根据不同的条件来渲染不同的组件,可以这样写:
1
2
3
4
5
6
7
8
9
10
11
12
13
14
| export default function MyApp() {
let button;
if (isLoggedIn) {
button = <LoginButton />;
} else {
button = <RegisterButton />;
}
return (
<div>
<h1>Welcome to my app</h1>
{ button }
</div>
);
}
|
是不是跟写一般的 js 一样简单。
列表渲染
列表渲染也同理,没有 v-for,而是跟写 js 一样:
1
2
3
4
5
6
7
8
9
10
11
12
13
14
15
16
17
18
19
20
21
22
| export default function MyApp() {
const products = [
{ title: 'Cabbage', id: 1 },
{ title: 'Garlic', id: 2 },
{ title: 'Apple', id: 3 },
];
const listItems = products.map(product => {
return <li key={product.id}>
{product.title}
</li>
});
return (
<div>
<h1>Welcome to my app</h1>
<ul>
{listItems}
</ul>
</div>
);
}
|
listItems 其实就是数组的 .map 方法返回的一个新的数组,其中每一个元素都是一个 li 标签。
数据驱动
像 vue 中的 v-model 这种,当你修改数据时,页面上对应的引用也会发生变化。
在 react 中则是用 useState 实现的,示例如下:
1
2
3
4
5
6
7
8
9
10
11
12
13
14
15
| import { useState } from 'react';
function MyButton() {
const [count, setCount] = useState(0);
function handleClick() {
setCount(count + 1);
}
return (
<button onClick={handleClick}>
Clicked {count} times
</button>
);
}
|
关键部分就是 const [count, setCount] = useState(0);
这实际上就是一个 es6 的数组解构语法,左侧固定为两个变量(命名随意,可以叫任何名字,都是变量名而已),右侧 useState 括号中的值其实就是默认赋值。
简单点说,count 就是你要用的变量,值为 0 ,setCount 则是修改 count 的方法。
第一个(count)就是需要在页面中引用的变量,而第二个变量(setCount)则是专门用来修改 count 的方法,也就是说如果我们需要实现更新数据后页面自动更新这种效果,就要用 setCount 方法来修改数据。
当然如果是一般的变量,不需要在页面上自动更新,那也就不需要使用 useState 来定义了,用原生 js 的方式即可。
事件绑定
绑定点击事件(onClick属性),这个很简单,就直接看示例吧:
1
2
3
4
5
6
7
8
9
10
11
12
13
14
15
| import { useState } from 'react';
function MyButton() {
const [count, setCount] = useState(0);
function handleClick() {
setCount(count + 1);
}
return (
<button onClick={handleClick}>
Clicked {count} times
</button>
);
}
|
其他事件同理,如:onMouseEnte、onKeyDown、onDoubleClick 等。
环境准备
Node: 18+,这里我使用的是 20.18.3 的版本。
建议通过 nvm 之类的工具来管理 Node 版本。
开始
这里我们使用 vite 来创建 react 项目。
1. 项目创建
按照提示选择:
1
2
3
| ✔ Project name: my-app
✔ Select a framework: » React
✔ Select a variant: » TypeScript
|
2. 进入目录、安装依赖、运行
1
2
3
| cd my-app
npm install
npm run dev
|
运行成功后访问 http://localhost:5173/ 即可查看运行结果。
项目结构
刚刚初始化的项目结构大概如下,非常干净:
1
2
3
4
5
6
7
8
9
10
11
12
13
14
15
16
17
18
| my-app/
├─ public/
├─ src/
├─ main.tsx
├─ App.tsx
├─ App.css
├─ index.css
├─ vite-env.d.ts
└─ assets/
├─ .gitignore
├─ eslint.config.js
├─ index.html
├─ package.json
├─ README.md
├─ tsconfig.app.json
├─ tsconfig.json
├─ tsconfig.node.json
└─ vite.config.ts
|
我们开发项目时通常会有一些通用的项目结构和代码,比如:
1
2
3
4
5
6
7
8
9
10
11
12
13
14
15
16
17
18
19
20
21
22
23
24
25
26
27
28
29
30
31
32
33
34
35
36
37
38
39
40
41
42
43
| my-app/
├─ .gitignore
├─ README.md
├─ api.config.ts
├─ eslint.config.js
├─ index.html
├─ package-lock.json
├─ package.json
├─ tsconfig.app.json
├─ tsconfig.json
├─ tsconfig.node.json
├─ vite.config.ts
├─ node_modules/
├─ public/
├─ src/
│ ├─ api/
│ │ ├─ index.ts
│ │ ├─ login.ts
│ │ └─ user.ts
│ ├─ assets/
│ │ └─ react.svg
│ ├─ components/
│ ├─ config/
│ ├─ hooks/
│ ├─ layouts/
│ │ ├─ MainLayout.css
│ │ └─ MainLayout.tsx
│ ├─ pages/
│ │ ├─ About.css
│ │ ├─ About.tsx
│ │ ├─ Home.css
│ │ ├─ Home.tsx
│ │ ├─ Users.css
│ │ └─ Users.tsx
│ ├─ router/
│ │ └─ index.tsx
│ ├─ types/
│ ├─ utils/
│ │ └─ request.ts
│ ├─ index.css
│ ├─ main.tsx
│ └─ vite-env.d.ts
|
有的同学可能会问,tsx 是什么,实际上就像 ts 就是 js 的扩展一样,tsx 无非就是 jsx 的扩展,这个不重要,就当是写 js 了。
引入常用依赖
网络请求、路由、UI组件库,这些基本都是必须的。安装这些依赖(axios + react-router + ant-design):
1
| npm install axios@latest react-router-dom@latest antd@latest @ant-design/icons@latest
|
路由
router/index.tsx
先看路由文件是怎么配置的:
1
2
3
4
5
6
7
8
9
10
11
12
13
14
15
16
17
18
19
20
21
22
23
24
25
26
| import { createBrowserRouter } from 'react-router-dom';
import MainLayout from '@/layouts/MainLayout';
import Home from '@/pages/Home';
import About from '@/pages/About';
import Users from '@/pages/Users';
export const router = createBrowserRouter([
{
path: '/',
element: <MainLayout />,
children: [
{
index: true,
element: <Home />,
},
{
path: 'about',
element: <About />,
},
{
path: 'users',
element: <Users />,
},
],
},
]);
|
path 为 ‘/‘ 时,加载了 MainLayout(通用布局组件),这就意味着你的布局组件对所有的路由都生效。
通用布局组件
layouts/MainLayout.tsx :
1
2
3
4
5
6
7
8
9
10
11
12
13
14
15
16
17
18
19
20
21
22
23
24
25
26
27
28
29
30
31
32
33
34
35
36
37
38
39
40
41
42
43
44
45
46
47
48
49
50
| import React from 'react';
import { Layout, Menu } from 'antd';
import { HomeOutlined, UserOutlined, InfoCircleOutlined } from '@ant-design/icons';
import { Outlet, useNavigate, useLocation } from 'react-router-dom';
import './MainLayout.css';
const { Header, Content } = Layout;
const MainLayout: React.FC = () => {
const navigate = useNavigate();
const location = useLocation();
const menuItems = [
{
key: '/',
icon: <HomeOutlined />,
label: '首页',
},
{
key: '/users',
icon: <UserOutlined />,
label: '用户列表',
},
{
key: '/about',
icon: <InfoCircleOutlined />,
label: '关于',
},
];
return (
<Layout className="main-layout">
<Header className="main-header">
<div className="logo" />
<Menu
theme="dark"
mode="horizontal"
selectedKeys={[location.pathname]}
items={menuItems}
onClick={({ key }) => navigate(key)}
/>
</Header>
<Content className="main-content">
<Outlet />
</Content>
</Layout>
);
};
export default MainLayout;
|
layouts/MainLayout.css :
1
2
3
4
5
6
7
8
9
10
11
12
13
14
15
16
17
18
19
20
21
22
23
24
25
26
27
28
29
30
31
32
33
34
35
36
37
38
39
40
41
42
43
44
| .main-layout {
width: 100vw;
min-height: 100vh;
display: flex;
flex-direction: column;
}
.main-header {
position: fixed;
z-index: 1;
width: 100%;
padding: 0;
display: flex;
align-items: center;
}
.logo {
float: left;
width: 120px;
height: 31px;
margin: 16px 24px 16px 0;
background: rgba(255, 255, 255, 0.3);
}
.main-content {
flex: 1;
margin-top: 64px;
padding: 24px;
background: #f0f2f5;
min-height: calc(100vh - 64px);
width: 100%;
}
@media (max-width: 768px) {
.main-content {
padding: 16px;
}
.logo {
width: 80px;
margin: 16px 12px 16px 0;
}
}
|
网络请求
utils/request :
1
2
3
4
5
6
7
8
9
10
11
12
13
14
15
16
17
18
19
20
21
22
23
24
25
26
27
28
29
30
31
32
33
34
35
36
37
38
39
40
41
42
43
44
45
46
47
48
49
50
51
52
53
54
55
56
57
58
59
60
61
62
63
64
65
66
67
| import axios from 'axios';
import { message } from 'antd';
const request = axios.create({
baseURL: '/api',
timeout: 10000,
headers: {
'Content-Type': 'application/json',
},
});
request.interceptors.request.use(
(config) => {
const token = localStorage.getItem('token');
if (token) {
config.headers.Authorization = `Bearer ${token}`;
}
return config;
},
(error) => {
return Promise.reject(error);
}
);
request.interceptors.response.use(
(response) => {
const { data } = response;
if (data.code === 0) {
return data.data;
}
message.error(data.message || '请求失败');
return Promise.reject(new Error(data.message || '请求失败'));
},
(error) => {
if (error.response) {
switch (error.response.status) {
case 401:
window.location.href = '/login';
break;
case 403:
message.error('没有权限访问');
break;
case 404:
message.error('请求的资源不存在');
break;
case 500:
message.error('服务器错误');
break;
default:
message.error('网络错误');
}
} else {
message.error('网络错误,请检查您的网络连接');
}
return Promise.reject(error);
}
);
export default request;
|
入口文件
main.tsx :
1
2
3
4
5
6
7
8
9
10
11
| import { StrictMode } from 'react'
import { createRoot } from 'react-dom/client'
import { RouterProvider } from 'react-router-dom'
import { router } from './router'
import './index.css'
createRoot(document.getElementById('root')!).render(
<StrictMode>
<RouterProvider router={router} />
</StrictMode>,
)
|
测试页面
写几个页面测试下效果。
pages/About.tsx
1
2
3
4
5
6
7
8
9
10
11
12
13
14
15
16
17
18
19
20
21
22
23
24
25
26
27
28
29
30
| import React from 'react';
import { Card, Typography } from 'antd';
import './About.css';
const { Title, Paragraph } = Typography;
const About = () => {
return (
<div className="page-container">
<Card className="page-card">
<Title level={2}>关于我们</Title>
<Paragraph>
这是一个使用 React Router 的示例项目,展示了现代前端开发的最佳实践。
</Paragraph>
<Paragraph>
技术栈:
</Paragraph>
<ul>
<li>React 18</li>
<li>TypeScript</li>
<li>React Router v6</li>
<li>Ant Design</li>
<li>Vite</li>
</ul>
</Card>
</div>
);
};
export default About;
|
pages/About.css
1
2
3
4
5
6
7
8
9
10
11
12
13
14
15
16
17
18
19
20
21
22
23
24
25
26
27
28
| .page-container {
height: 100%;
width: 100%;
display: flex;
flex-direction: column;
}
.page-card {
flex: 1;
margin: 0;
display: flex;
flex-direction: column;
}
.page-card .ant-card-body {
flex: 1;
display: flex;
flex-direction: column;
}
.page-card ul {
margin-top: 16px;
padding-left: 20px;
}
.page-card li {
margin-bottom: 8px;
}
|
pages/Home.tsx
1
2
3
4
5
6
7
8
9
10
11
12
13
14
15
16
17
18
19
20
21
22
23
24
25
26
27
28
29
| import React from 'react';
import { Card, Typography } from 'antd';
import './Home.css';
const { Title, Paragraph } = Typography;
function Home() {
return (
<div className="page-container">
<Card className="page-card">
<Title level={2}>欢迎来到首页</Title>
<Paragraph>
这是一个使用 React + TypeScript + Ant Design 构建的示例项目。
</Paragraph>
<Paragraph>
本项目展示了以下功能:
</Paragraph>
<ul>
<li>React Router 路由管理</li>
<li>Ant Design 组件库</li>
<li>TypeScript 类型支持</li>
<li>响应式布局设计</li>
</ul>
</Card>
</div>
);
};
export default Home;
|
pages/Home.css
1
2
3
4
5
6
7
8
9
10
11
12
13
14
15
16
17
18
19
20
21
22
23
24
25
26
27
28
| .page-container {
height: 100%;
width: 100%;
display: flex;
flex-direction: column;
}
.page-card {
flex: 1;
margin: 0;
display: flex;
flex-direction: column;
}
.page-card .ant-card-body {
flex: 1;
display: flex;
flex-direction: column;
}
.page-card ul {
margin-top: 16px;
padding-left: 20px;
}
.page-card li {
margin-bottom: 8px;
}
|
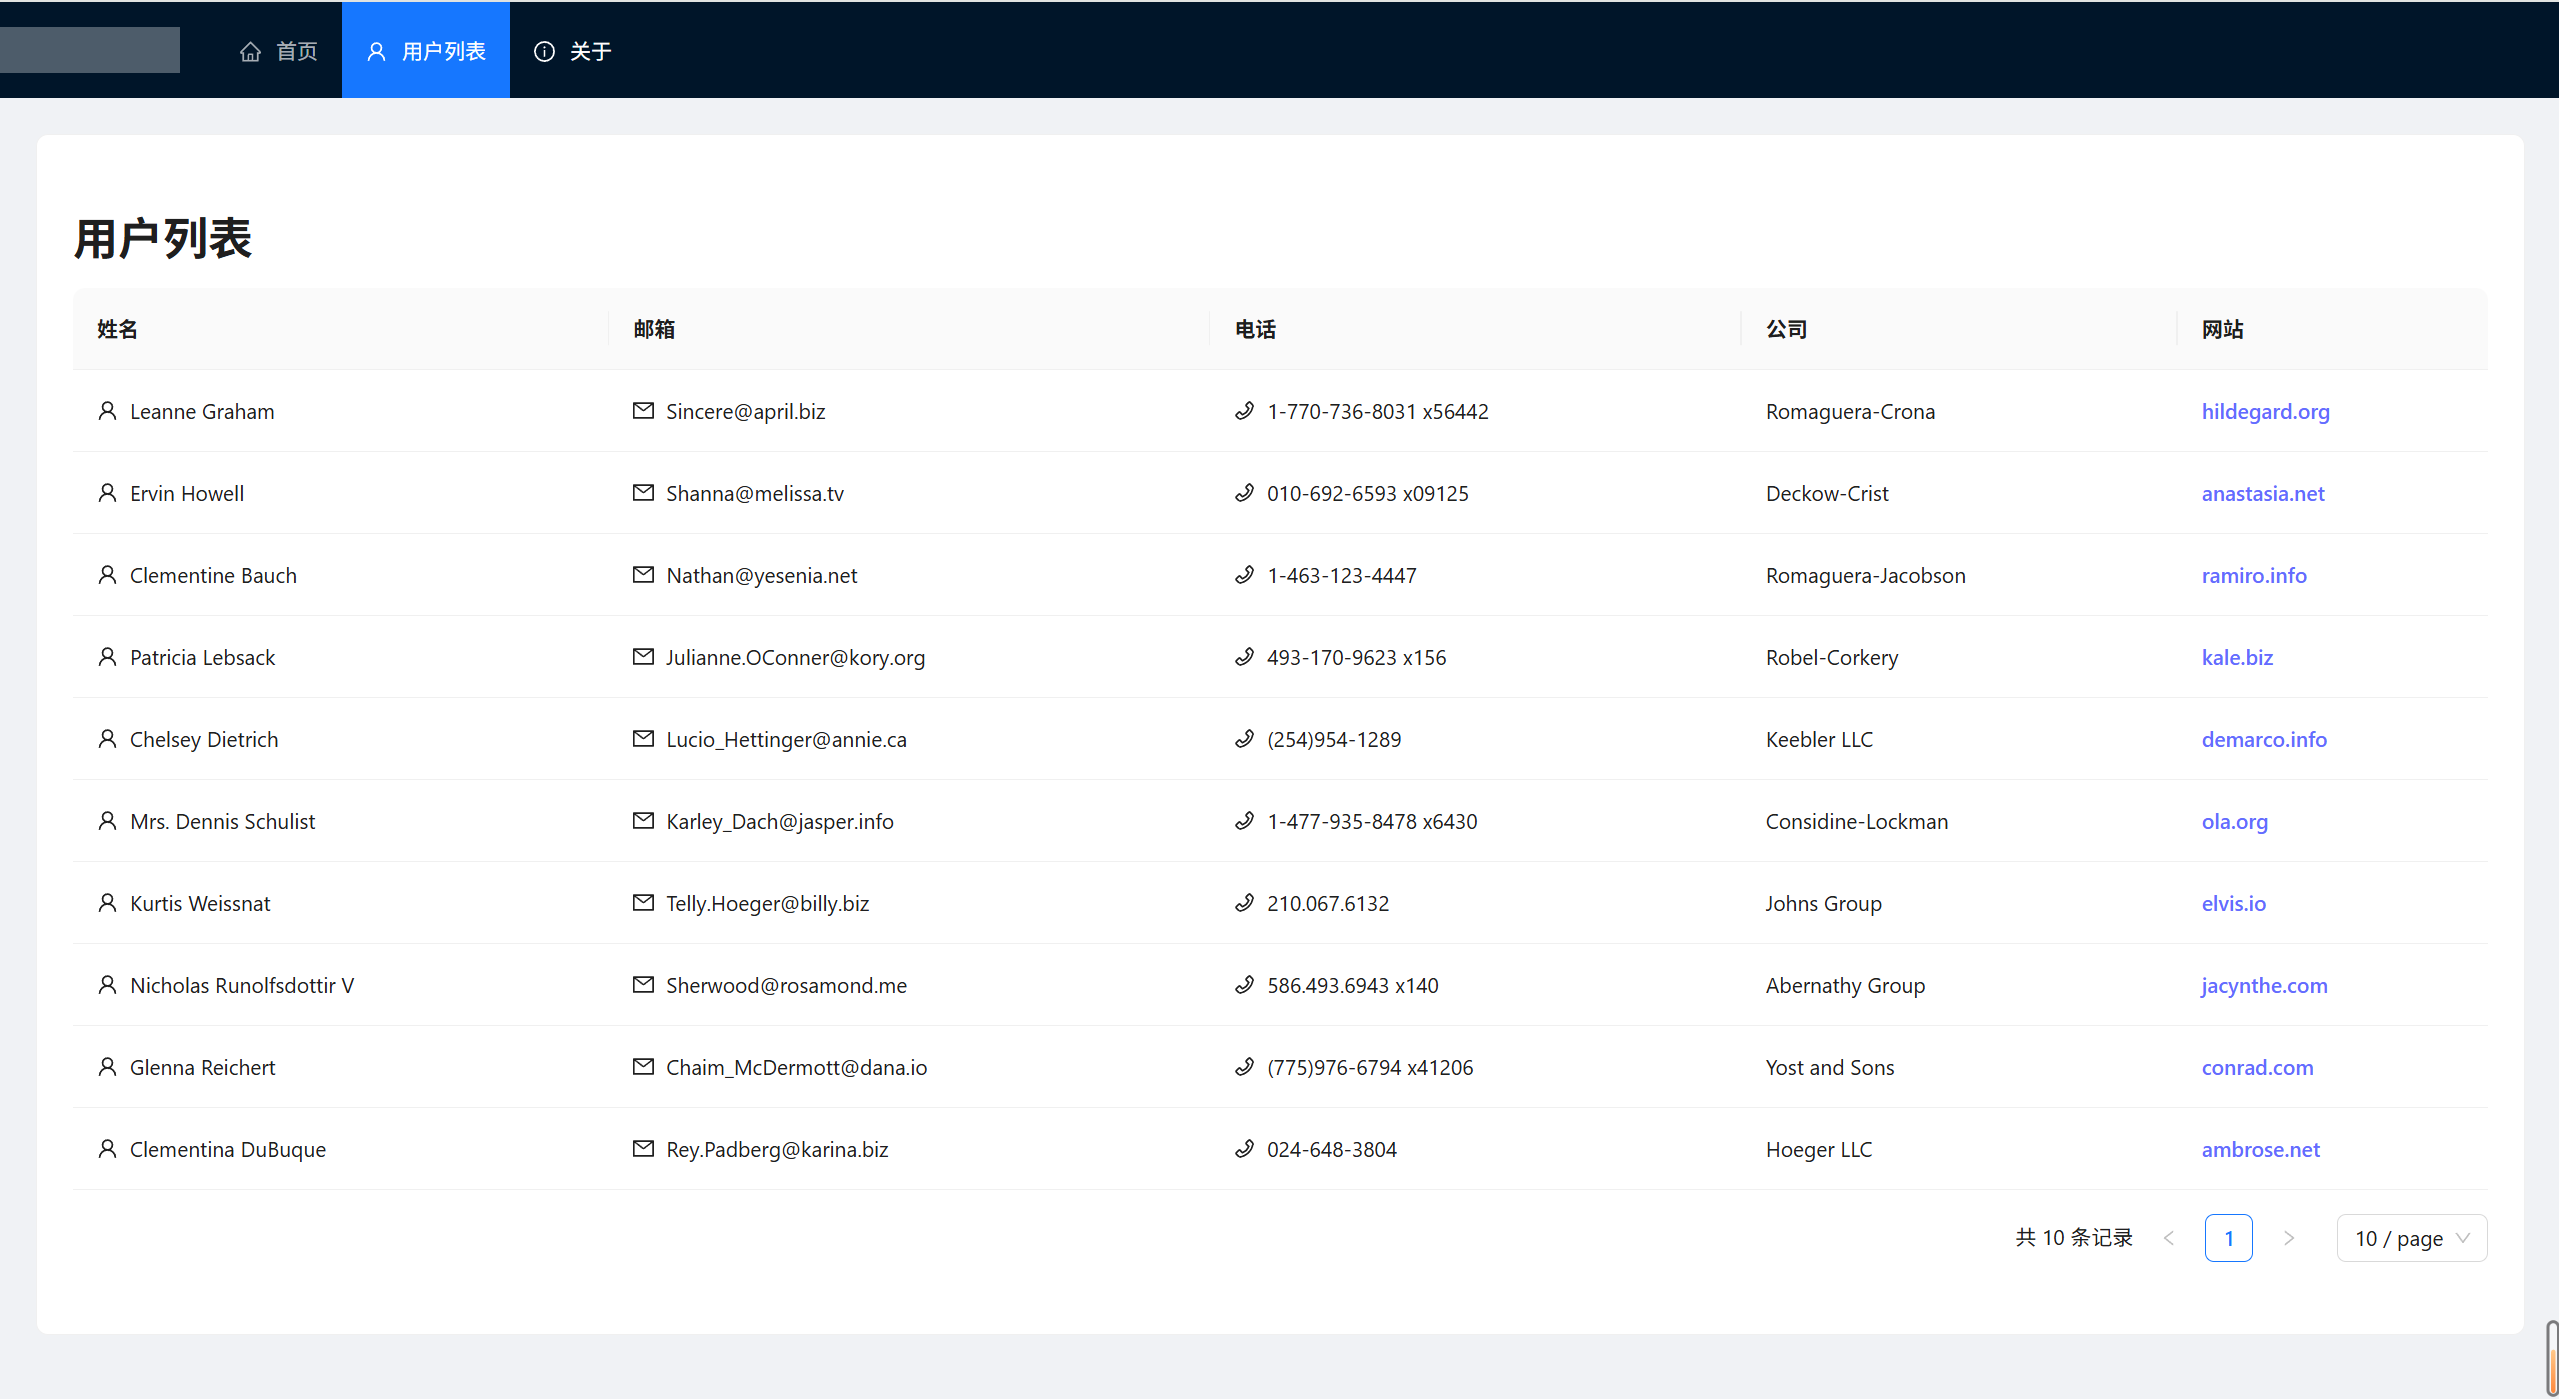
pages/Users.tsx
1
2
3
4
5
6
7
8
9
10
11
12
13
14
15
16
17
18
19
20
21
22
23
24
25
26
27
28
29
30
31
32
33
34
35
36
37
38
39
40
41
42
43
44
45
46
47
48
49
50
51
52
53
54
55
56
57
58
59
60
61
62
63
64
65
66
67
68
69
70
71
72
73
74
75
76
77
78
79
80
81
82
83
84
85
86
87
88
89
90
91
92
93
94
95
96
97
98
99
100
101
102
103
104
105
106
107
108
109
110
111
112
113
114
115
116
117
118
119
120
121
122
123
124
125
126
127
128
129
130
131
132
133
134
135
136
137
| import React, { useState, useEffect } from 'react';
import axios from 'axios';
import { Table, Card, Spin, Alert, Typography } from 'antd';
import { UserOutlined, MailOutlined, PhoneOutlined } from '@ant-design/icons';
import { getUserList } from '@/api/user';
import type { User } from '@/api/user';
import './Users.css';
const { Title } = Typography;
interface User {
id: number;
name: string;
email: string;
phone: string;
website: string;
company: {
name: string;
};
}
const Users = () => {
const [users, setUsers] = useState<User[]>([]);
const [loading, setLoading] = useState(true);
const [error, setError] = useState<string | null>(null);
useEffect(() => {
const fetchUsers = async () => {
try {
const response = await axios.get<User[]>('https://jsonplaceholder.typicode.com/users');
setUsers(response.data);
setLoading(false);
} catch (err) {
setError('获取用户数据失败');
setLoading(false);
}
};
fetchUsers();
}, []);
const columns = [
{
title: '姓名',
dataIndex: 'name',
key: 'name',
render: (text: string) => (
<span>
<UserOutlined style={{ marginRight: 8 }} />
{text}
</span>
),
},
{
title: '邮箱',
dataIndex: 'email',
key: 'email',
render: (text: string) => (
<span>
<MailOutlined style={{ marginRight: 8 }} />
{text}
</span>
),
},
{
title: '电话',
dataIndex: 'phone',
key: 'phone',
render: (text: string) => (
<span>
<PhoneOutlined style={{ marginRight: 8 }} />
{text}
</span>
),
},
{
title: '公司',
dataIndex: ['company', 'name'],
key: 'company',
},
{
title: '网站',
dataIndex: 'website',
key: 'website',
render: (text: string) => (
<a href={`https://${text}`} target="_blank" rel="noopener noreferrer">
{text}
</a>
),
},
];
if (loading) {
return (
<div className="page-container">
<div className="loading-container">
<Spin size="large" />
</div>
</div>
);
}
if (error) {
return (
<div className="page-container">
<Alert
message="错误"
description={error}
type="error"
showIcon
className="error-alert"
/>
</div>
);
}
return (
<div className="page-container">
<Card className="page-card">
<Title level={2}>用户列表</Title>
<Table
dataSource={users}
columns={columns}
rowKey="id"
pagination={{
pageSize: 10,
showSizeChanger: true,
showQuickJumper: true,
showTotal: (total) => `共 ${total} 条记录`,
}}
/>
</Card>
</div>
);
};
export default Users;
|
pages/Users.css
1
2
3
4
5
6
7
8
9
10
11
12
13
14
15
16
17
18
19
20
21
22
23
24
25
26
27
28
29
30
31
32
33
34
35
36
37
38
39
40
41
42
43
44
45
46
47
48
49
50
| .page-container {
height: 100%;
width: 100%;
display: flex;
flex-direction: column;
}
.page-card {
flex: 1;
margin: 0;
display: flex;
flex-direction: column;
}
.page-card .ant-card-body {
flex: 1;
display: flex;
flex-direction: column;
padding: 24px;
}
.loading-container {
flex: 1;
display: flex;
justify-content: center;
align-items: center;
}
.error-alert {
margin: 24px;
}
.ant-table-wrapper {
flex: 1;
display: flex;
flex-direction: column;
}
.ant-table {
flex: 1;
}
.ant-table-container {
height: 100%;
}
.ant-table-body {
height: 100% !important;
}
|
运行后查看效果
代理
前端解决跨域问题,在 vite.config.ts 中配置代理,文件内容如下:
1
2
3
4
5
6
7
8
9
10
11
12
13
14
15
16
17
18
19
20
21
22
23
24
25
26
27
28
29
30
31
32
33
34
35
36
37
38
39
40
41
| import { defineConfig } from 'vite'
import react from '@vitejs/plugin-react'
import path from 'path'
export default defineConfig({
plugins: [react()],
resolve: {
alias: {
'@': path.resolve(__dirname, './src'),
'@components': path.resolve(__dirname, './src/components'),
'@pages': path.resolve(__dirname, './src/pages'),
'@layouts': path.resolve(__dirname, './src/layouts'),
'@utils': path.resolve(__dirname, './src/utils'),
'@api': path.resolve(__dirname, './src/api'),
'@hooks': path.resolve(__dirname, './src/hooks'),
'@store': path.resolve(__dirname, './src/store'),
'@types': path.resolve(__dirname, './src/types'),
'@assets': path.resolve(__dirname, './src/assets'),
},
},
server: {
port: 5173,
open: true,
cors: true,
proxy: {
'/api': {
target: 'http://your-api-server.com',
changeOrigin: true,
rewrite: (path) => path.replace(/^\/api/, ''),
},
'/auth': {
target: 'http://your-auth-server.com',
changeOrigin: true,
rewrite: (path) => path.replace(/^\/auth/, ''),
}
}
}
})
|
总结
这样一个干净的 react 项目结构就搭建好了,大家可以根据自己的需要做调整。